Case Studies
Independent Film – Searching
6 minute read
The recent film Searching, directed by Aneesh Chaganty and edited by Nick Johnson and Will Merrick, was a conceptual breakthrough. The story is told entirely through computer and handheld-device screens, which involved the creators’ devising a workflow that reflected both the new ways in which we communicate—and make motion pictures.
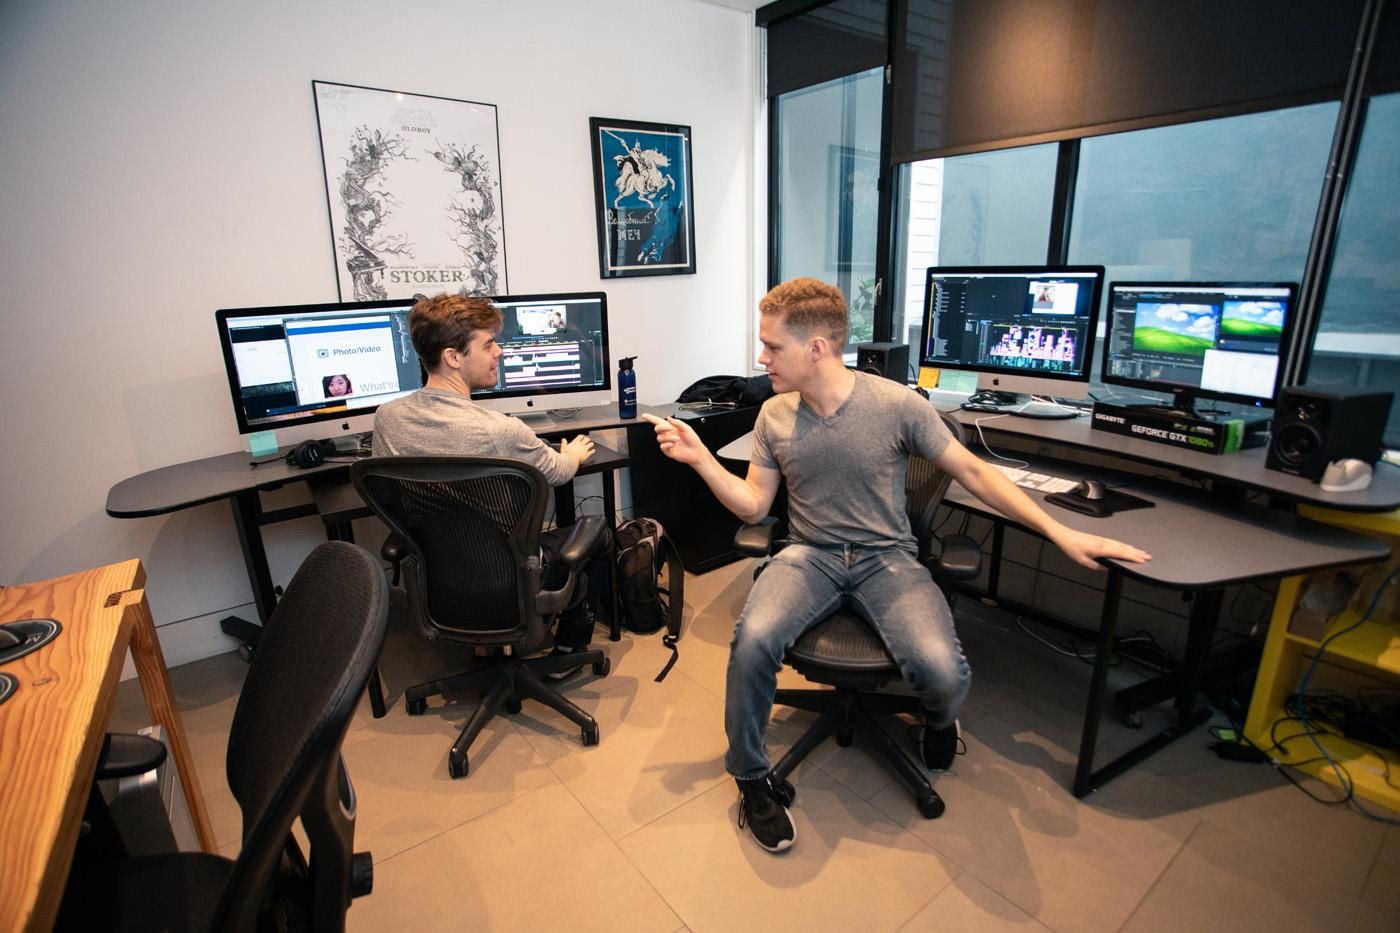
After breaking down the multi-tiered creative process in a Frame.io Insider article, we were so intrigued by what is clearly a unique filmmaking process that we decided to drill down into the nuts and bolts of their equally unconventional technical workflow.
Overview
The production was divided into phases: “pre-post”, in which the editors sat with the director and created and choreographed an animatic of the entire movie; “post,” in which they edited the live action into the screens based on the animatic; “and post-post,” in which they added all of the moving graphical elements and sound.
The Cameras
In keeping with the film’s central conceit, the cameras were mostly GoPros and iPhones, with Sony Z100s for news footage, and drones for some of the aerial shots. The live-action images were intended to be viewed through a digital device, so using those cameras lent authenticity to the film’s aesthetic.
Editorial Prep
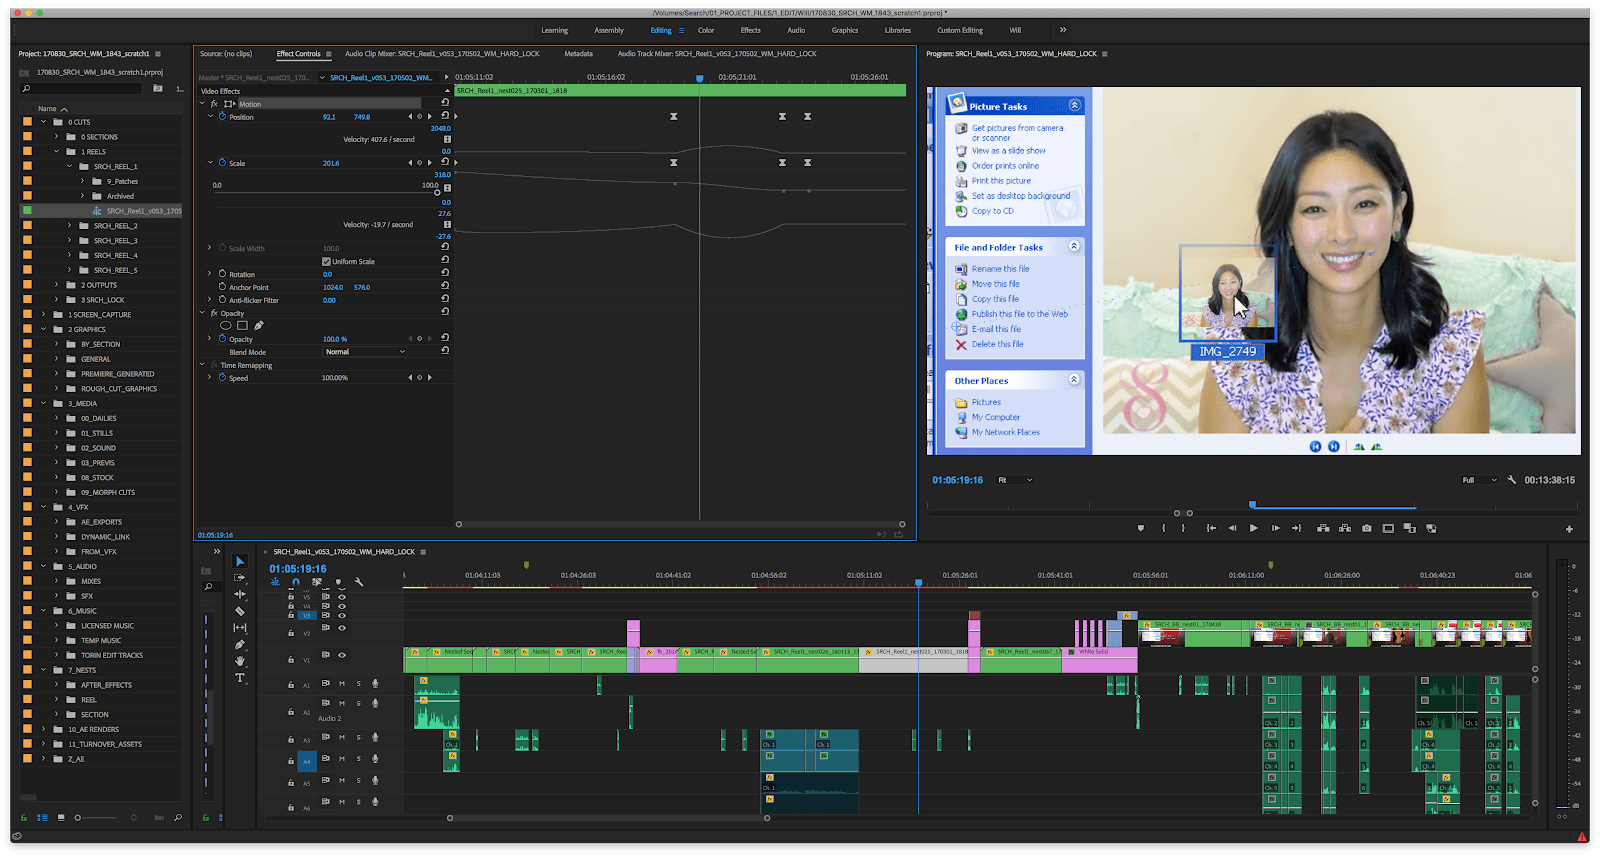
The editors chose to cut in Premiere running on iMacs, knowing that they were going to go back and forth in Illustrator and After Effects to create (and integrate) the screen graphics. The ease of moving elements within the Adobe creative suite made it a logical choice.

As a result of using mainly pro-sumer (or even consumer) acquisition, with many different frame rates and sizes, the editors had to transcode all the media from h264 to ProRes 422. To complicate matters further, the screen records they captured on the set were at 30 fps, so they had mixed frame rates even within the timeline.
In spite of the prosumer video capture, audio was recorded separately on the set to a professional external recorder, and the DIT sent the footage to editorial already synced, using an automated syncing application and then checking it by hand against the slates. Both editors noted that because much of the footage was shot on iPhones there were occasional shifts in frame rate that resulted in audio drift, so that even in the editorial phase they had to adjust the sync by eye.
Everything was recorded in Rec. 709 color space, with no baked-in LUTs, although they did employ some of the Premiere LUTs during the editorial process on adjustment layers.
Pre-post and post
The movie was divided into 26 separate sections, each of which was assigned a letter of the alphabet. As the sections were completed, they were combined to form reels. Both editors worked on all of the sections (and reels), albeit at different times. Because Premiere’s Team Project function was still in beta, they collaborated in a more manual way.
They each ran their own projects and initialed them, and then would import one another’s sequences. When they took a sequence in, they’d immediately rename it and initial it, including the time—down to the minute—as part of the naming convention, a trick Nick learned from his time at Buzzfeed.
Everything existed in two project files, one for each editor. Communication between them was essential, and being in adjoining rooms with a door they could keep open made it much simpler for them to just talk to each other to avoid confusion.
There were backups of all the production footage on a shared third-party RAID server from QOS for all the media, and they frequently backed up their project files onto a 16TB drive along with the screen graphics, which constituted the bulk of the footage. Because there were so many graphical elements, they created separate folders for such assets as mouse cursors, pointers, and desktops.
In terms of overall editorial process, even before the first frame of video was shot, the two editors worked for an incredibly brisk seven weeks with the director to create a full-length animatic template of the entire film from the initial treatment. In fact, the shooting script was created from the animatic. From day one of the animatic process, they used Frame.io extensively for reviews with the director and producers. With only seven weeks to essentially pre-edit the entire movie, fast turnaround and accurate feedback were critical—and remained so throughout the entire production.
Once shooting began, the process became more traditional, with the editors cutting in dailies over the course of the fourteen-day shoot. Because they had pre-timed placeholders in the animatic, it was more a matter of replacing the placeholders with the production footage and adjusting the timing. But that’s where the traditional part of the workflow began and ended.
After shooting wrapped, Nick and Will had approximately two months to complete the director’s cut, and about another month to complete graphics and the post-post processes.
Graphics and templates
Nick and Will worked extensively in Illustrator to create the graphics and then linked them into the Premiere timeline. Initially, they looked blurry because Premiere doesn’t rasterize them through the nests. However, once the Illustrator files were imported to After Effects, all they had to do was turn on a feature called Continuous Raster and the graphics were immediately up-resed.
Neon Robotics handled the After Effects work of creating graphic templates such as the Chrome top bar, Gmail inboxes, and the iMessage template. The editors were able to Slack the team at Neon to request those kinds of more complicated graphics and then were able to plug them in and modify them by adding the bubbles and text. Neon also created the news graphics and handled some of the invisible effects, such as adding trees to an aerial drone shot, working off of DPX sequences of the original footage from the editors.
Titles were also created in After Effects and the producers used Endcrawl for the credits.
Sound
The sound was done “fairly” traditionally, according to Nick and Will. They worked with a temp soundtrack during the editorial process, and the sound designers began work after the main picture was locked, using AAF files from Premiere. The trickiest part was that the editors were still working on the graphics—timings for mouse movements and clicks, and typing keystrokes and whatnot—so they had to go back and forth with the sound design to make sure that the visuals and sound lined up precisely. Because the audience is so accustomed to the way the sounds of keyboards and clicks coincide with hand motions, even a small amount of drift was distracting.
Color correction
Working with a colorist who was experienced with non-traditional workflows, they were able to handle the majority of the color correction in After Effects using Color Finesse. Nick and Will built a temp version of every layer of the film in Premiere, which needed to be fully locked before exporting to After Effects (they emphasized to producers and the director that once the sections went into After Effects they wouldn’t be able to go back into Premiere for editorial changes again without rebuilding the sections). When they had final approval, the editors took the locked sections and moved them over to After Effects using Dynamic Link as the handover tool, and completed the color correction, essentially creating an After Effects clone.
At that point, they rendered DPX sequences out of After Effects in order to go to Resolve for pretty simple vignetting and white balance correction. The editors added the cut points in for the colorist, and then after he completed the final color pass they rendered out reels in ProRes 4444 from Resolve.
Archiving
The final was archived to LTO tape and turned over to Sony.
The bottom line
With a production budget of approximately $1 million and a worldwide gross of approximately $70 million, Searching was a success by all accounts. While most theatrically released films are shot on expensive cameras, cut on Avids, and go through the more traditional DI process, in this case the Adobe Creative Suite helped the filmmakers create a movie—and a workflow—that will likely inspire others to explore the kinds of unconventional processes that make moviemaking more accessible—and more exciting.
Continue readingfor free
Unlock all 100,000 words of the Frame.io Workflow Guide and learn how the pros do workflow.
