Capture
Bit Rate
5 minute read
Calculating Bit Rate
A codec’s bit rate can seriously affect the speed and efficiency of your workflow. Using the wrong bit rate at the wrong time can lead to inconveniences, like slow editing, or possibly disaster, like the complete exhaustion of your available storage. To avoid these issues, you really should learn how to calculate bit rate.
The basic formula for bit rate is bit rate x length of video = file size. This is a very simple formula that anyone can use. Keep in mind, however, that each of these variables can be filled in with slightly different units. For example, bit rate can be expressed in kilobits per second (Kbps or Kb/s) or megabytes per seconds (MBps or MB/s). A video’s length can be in seconds, minutes, and hours. And a file size can be a few kilobytes, or up to a couple terabytes (pray that it’s not).
To get a handle on these different units, let’s first answer a question. What is a bit?
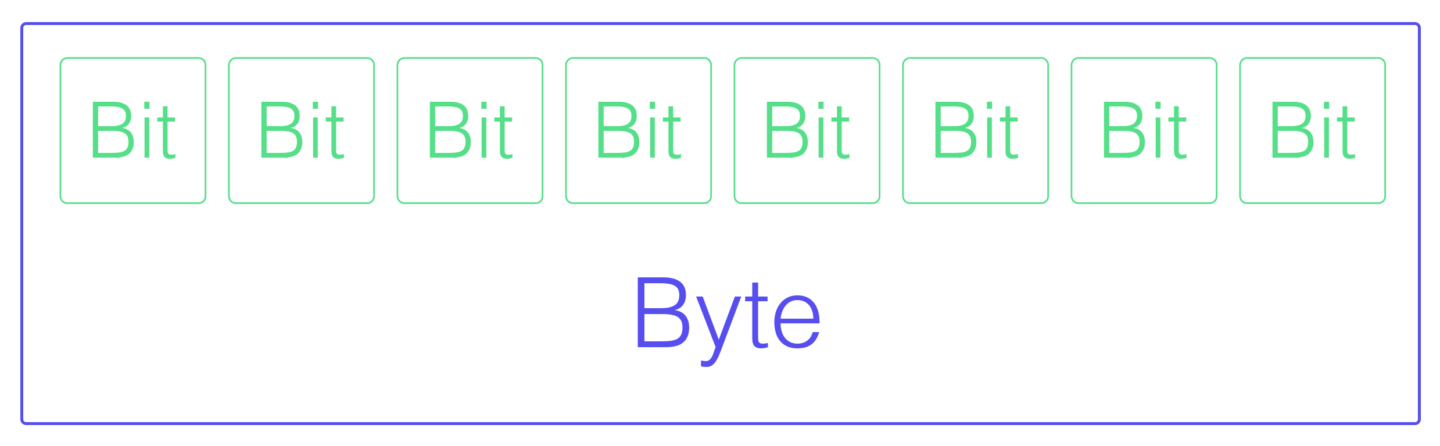
A bit is just a binary unit of information. Computers store bits as a 0 or a 1, and combine them together to store increasingly complex information. When 8 bits are put together, they form a byte. Converting between the two units is very easy. To convert bits to bytes simply divide the number of bits by 8. When converting the other way, from bytes to bits, just multiply the number of bytes by 8. Simple.
Well a byte really isn’t that much data (anymore). So, we use prefixes to quickly quantify how many bits/bytes we’re talking about:
One kilobit/byte is one thousand (1,000) bits/bytes
One megabit/byte is one million (1,000,000) bits/bytes.
One gigabit/byte is one billion (1,000,000,000) bits/bytes.
One terabit/byte is one trillion (1,000,000,000,000) bits/bytes.
Notice that every step up in prefix increases the amount of information by 1000. So, 1 gigabyte is 1000 times larger than 1 megabyte. 8 billion 1s and 0s (one gigabyte) certainly sounds like a lot, but that’s the scale it takes to store, process, and display most HD video files.
Here’s an example. Imagine you have 2 hours of footage you need to archive, so you’re transcoding it to DNxHD 175. How much storage will you need?
Using the formula above, let’s start with bit rate. The bit rate of DNxHD 175 is 175 Mbps (hey, isn’t that handy?). Since we want to know how much storage is necessary, we should convert the bit rate to bytes per second (because file size is almost always expressed with bytes rather than bits). Simply divide the bit rate by 8, and you’re there.
175Mbps / 8 bits = 21.875MBps
Now, let’s factor in the length of the footage. We could figure out how many seconds are in two hours of footage, but it’s easier to just convert our bit rate to a per minute value. So, since our bit rate is currently measured by the second, we need to multiply it by the number of seconds in a minute. That’s 60.
21.875MBps x 60 secs = 1312.5MBpm (megabytes per minute)
Now, the final step, multiply our new per-minute bit rate by the number of minutes in two hours. That’s 120.
1312.5MBpm x 120 mins = 157500MB.
Now we know exactly how much storage we will need to transcode into our archival codec. But we can make this answer a bit easier to read if we convert it to gigabytes (the most common unit of video file sizes). Using our table above, we know there are 1000 megabytes per gigabyte, so all we need to do is divide our answer by 1000.
157500MB / 1000MB = 157.5GB
See how easy that was?
Adjusting Bit Rate
Now that you know how to calculate bit rate, you can easily figure out which codecs fit within your workflow resources. But once you’ve narrowed the list, how do you know which codec (and corresponding bit rate) are the best options for your project?
Well first you should know that bit rate is adjustable. While many codecs have a default bit rate on certain devices/pieces of software, you will usually have some control over this aspect of the codec. Some codecs (like DNxHD and ProRes) have bit rate presets (see DNxHD 175 in the example above) that are optimized to work for particular resolutions and framerates. This takes a lot of the guesswork out of choosing a bit rate for the codec, because the different presets give similar quality for different formats of video. Other codecs (like H.264) allow you to variably select almost any bit rate. This gives you more precise control over the size of your footage, which can be useful when storage or bandwidth is limited, but can take more time to find the exact settings that preserve a desired level of detail.
Generally speaking, you want to use the highest bit rate that your workflow resources can tolerate. A higher bit rate will allow a codec to produce higher quality images. However, this is not necessarily true when comparing codecs against each other. Different codecs vary widely on how they use compression techniques, so choosing codecs based on bit rate alone is not a good idea. For example, a newer codec like H.264 at 10Mbps will produce much higher quality images than an older codec like MPEG-2 at 20Mbps. H.264 is just that much more efficient than MPEG-2, so it can fit much more detail into less data. Only compare a codec against itself when considering bit rate alone. If you do that, then yes, a higher bit rate will produce a higher quality image. But only to a point.
There is a limit to how much increasing bit rate will improve an image. Most codecs have a “sweet spot,” or range of bit rates where image quality and file size are optimized. For example, H.264 at 1080p is widely believed to have a sweet spot between 15 and 25 Mbps. Using a bit rate below the sweet spot can degrade the visual quality of footage, and going above it will use more storage only a minor increase in quality. Sure, you do get increased detail with H.264 if you jump from 20mbps to 200mbps, but it will not be as discernable as the jump from 10-20mbps. Plus, your storage requirements will skyrocket. In most cases, it’s not worth the added computational/logistical costs to increase bit rate beyond a certain point.
In short, there is no ideal bitrate. Your best option will depend on the image you are recording/working with, its resolution, how you want to manipulate the image, and how much data your workflow can handle. For some shots, low bit rates will look fine, especially if there isn’t much detail in the image to preserve (think of an interview with a still background). For other shots, like action sports and chase scenes, where almost everything in frame is changing constantly, you will need a much higher bit rate to achieve an acceptable quality. Experiment with different bit rates with codecs you already use, and see how they impact the image quality. As with everything that surrounds codecs, you need to thoroughly test your bit rate before the project begins.
Continue readingfor free
Unlock all 100,000 words of the Frame.io Workflow Guide and learn how the pros do workflow.
